


Part 1 - Cinema 4D
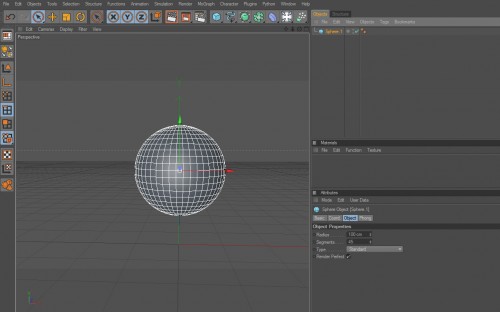
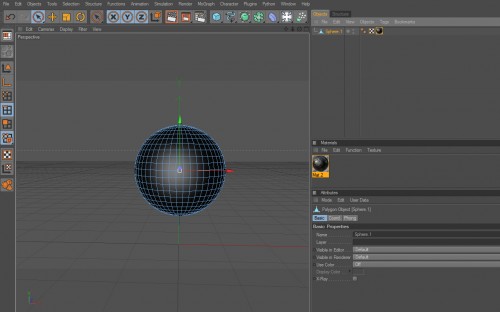
Cinema 4dOpen a new file on Cinema 4d. Go to Objects - Primitive and add a Sphere. Go to the Attributes panel, select Objects tab and edit the Segments property into 45 so we have more geometry in our sphere to work with:
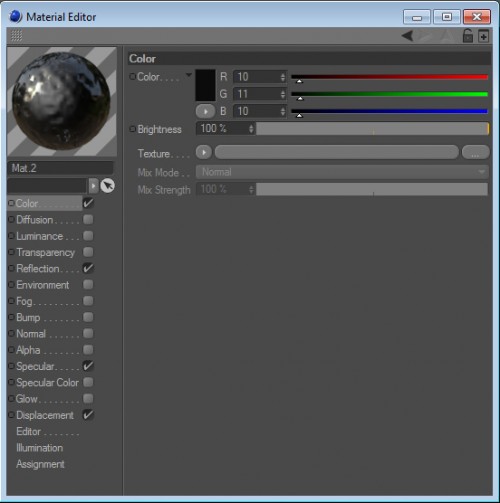
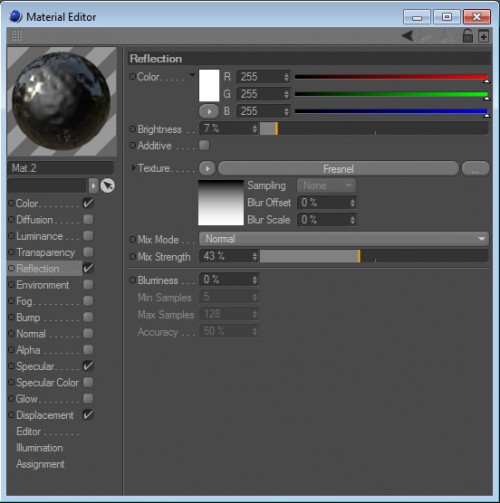
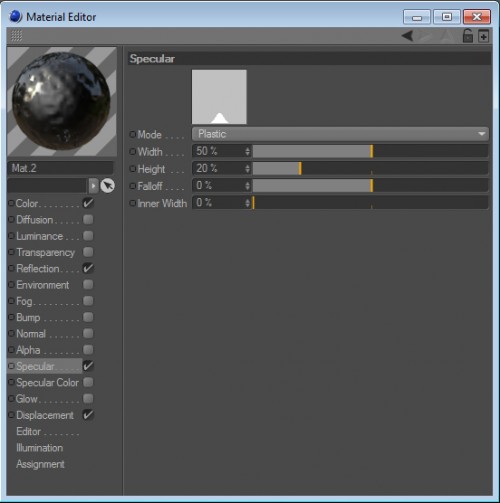
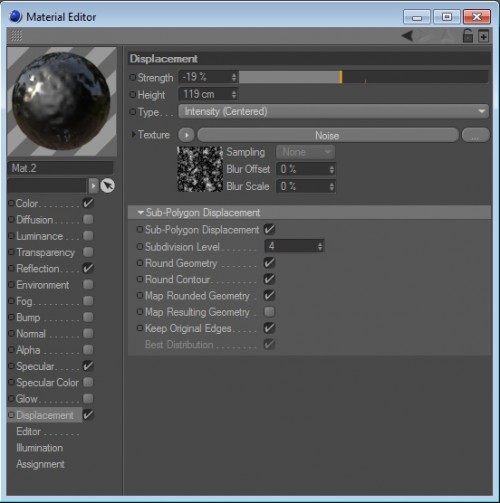
Go to the Materials Panel and create a new Material with the same values as the images below:
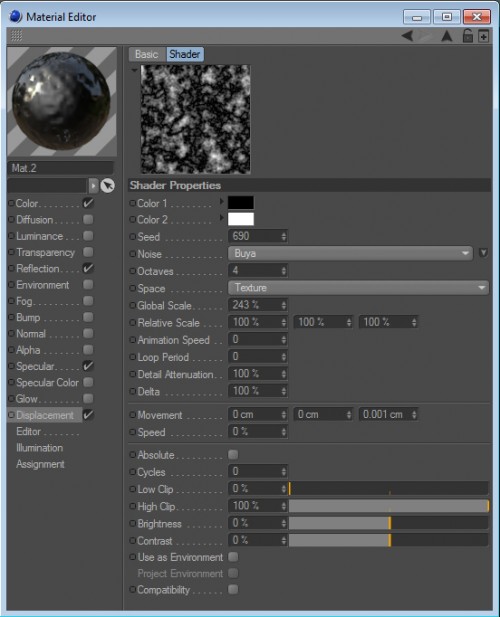
Inside the Displacement tab, click on Noise to go to the Shader Property and edit the values to the match the image below:
Go to your Objects tab and select your sphere. Now click C to convert this parametric object into a polygon object. You can see the icon changed. Apply your Material to the Shape, simply by dragging it to your object. You can see the color has changed in the preview window:
Go to the Menu - Objects - Scene - Background, to add a new background. Or use the shorcut like the image show:
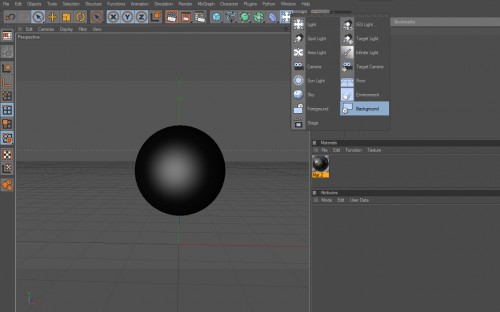
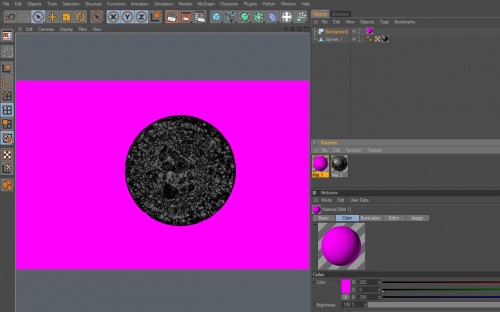
Add a new Material to your background. You MUST pick a fushia or lime color so you can remove the background in a easy way on Photoshop. This also help us to create a good contrast when we render with lights:

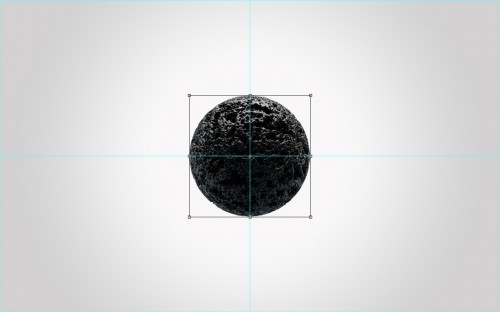
Press ctrl+r / cmd+r or go to Menu - Render - Render View to render the composition to see the effect we applied into the shape:
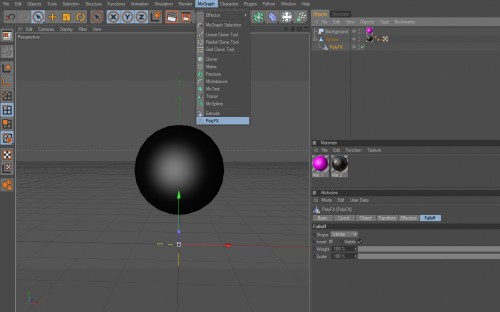
Now go to - Mograph and add PolyFx. Go to your Objects Tab and grab it and place it inside your Sphere:
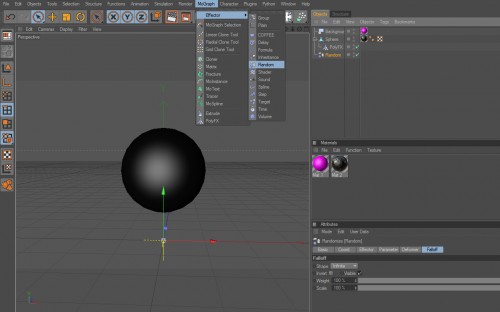
After that go to - Mograph - Effector and add Random. Place it inside your Sphere as well:
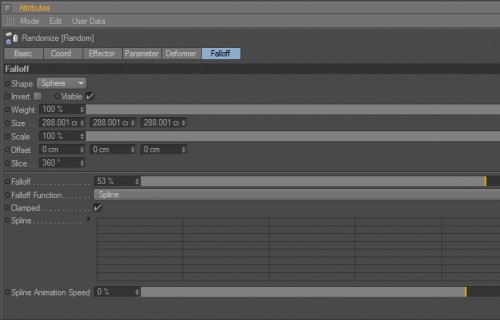
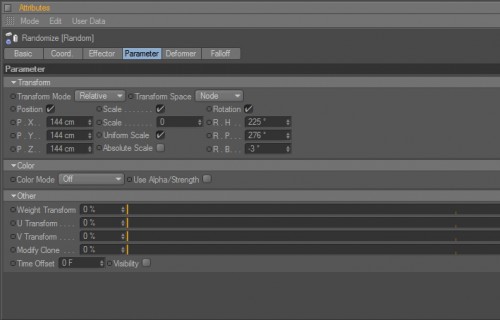
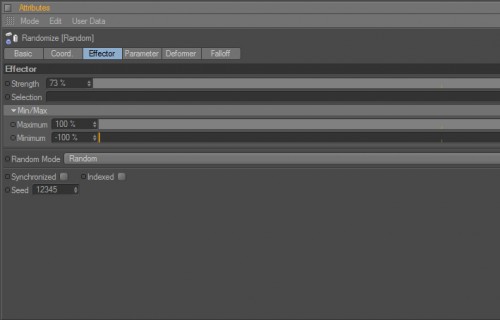
Go to attributes and edit the values to the match the image below:
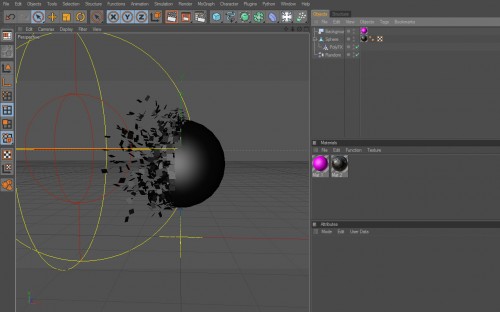
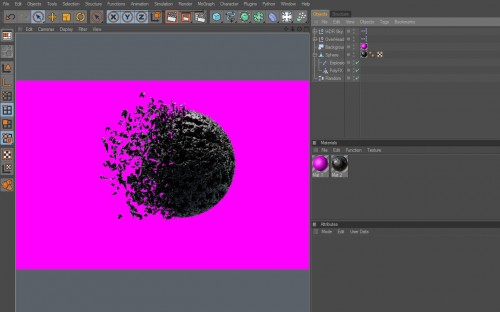
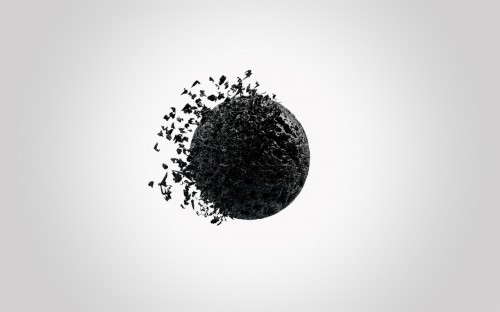
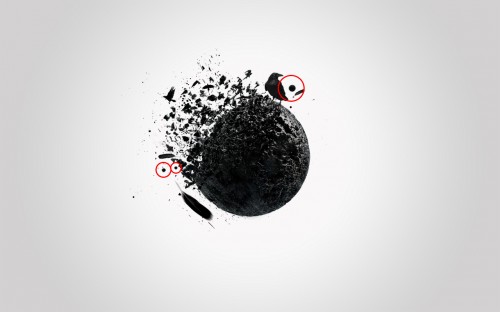
Go to your preview scene and drag your Random Effector near the sphere. You can see in the Preview tab that the sphere is exploding into pieces:
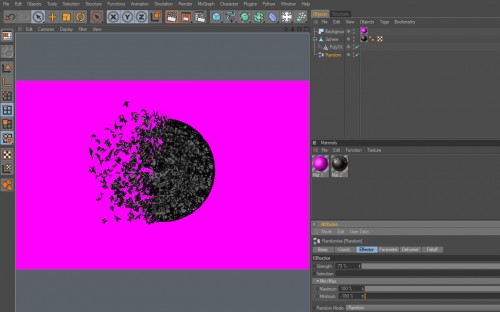
Press ctrl+r / cmd+r or go to Menu - Render - Render View to render the composition to see the effect we applied into the shape:
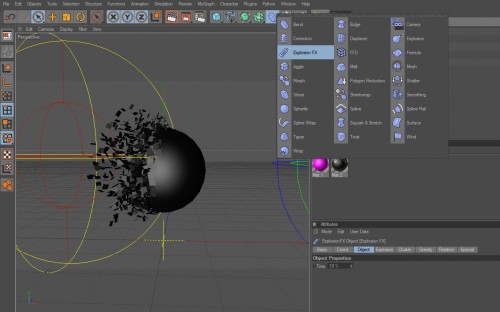
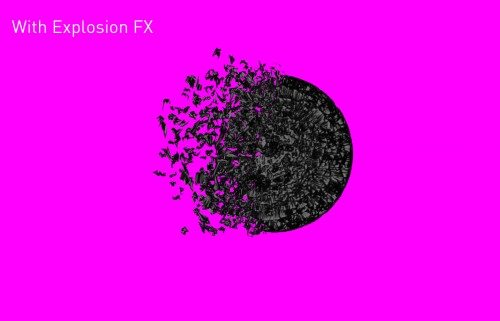
We're almost done in C4D. Go to Menu - Deformer and add Explosion FX or trought the shortcut showed in the image. Go to your Objects Tab and grab it and place it inside your Sphere:
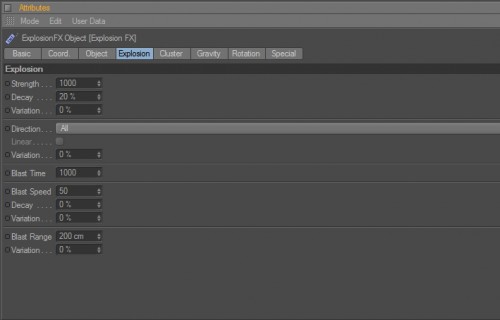
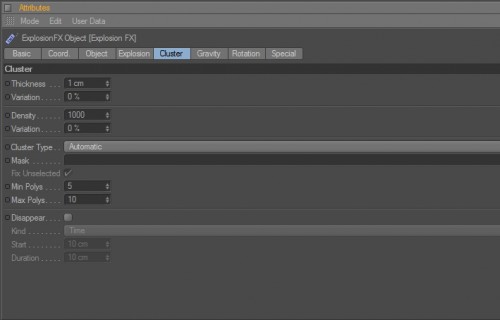
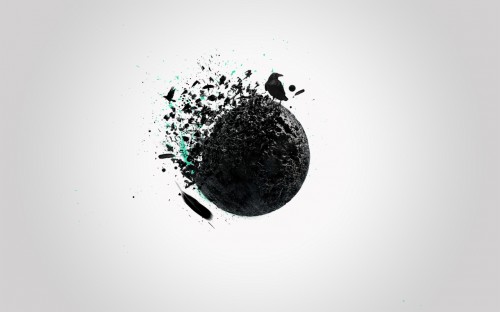
Go to attributes of the Exposion FX and edit the values to the match the image below:
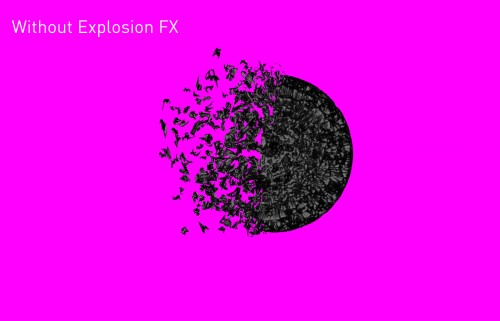
The Explosm FX gives you extra explosion elements to your sphere, but this step is optional. Check the difference below:
The sphere is pretty flat. It's time to add some light's. I used a OverHead Softbox and HDR Sky from GreyscaleGorilla.com - HDRI Light Kit Pro for Cinema 4D. For more info on how to download/install/use check he's awesome website:

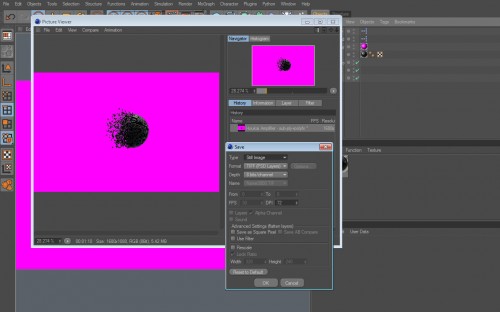
Shift+r to Render your image to picture view and go to File - Save as - select TIFF for the best quality. We need to save two images. One with the effects (Random+Explosion), and the other with disabled FX's (just click on the green check mark to disable it) so we can mix a clean sphere with a "exploded" Sphere in Photoshop:
Part 2 - Photoshop
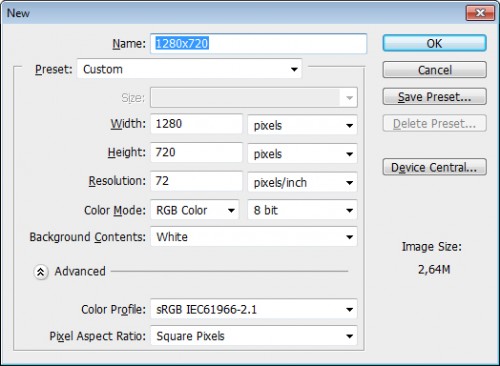
Open a new document on Photoshop. Create a new document sized 1280 * 720px:
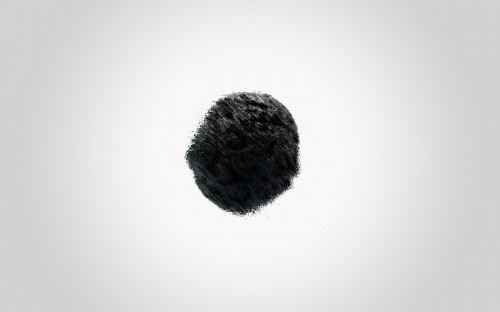
Edit your background to Gradient Overlay to Radial 90 and Scale 15%. Use #f9f8f8 at 40% and #d2d2d3:
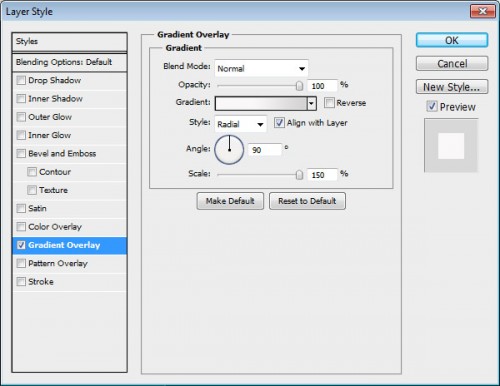
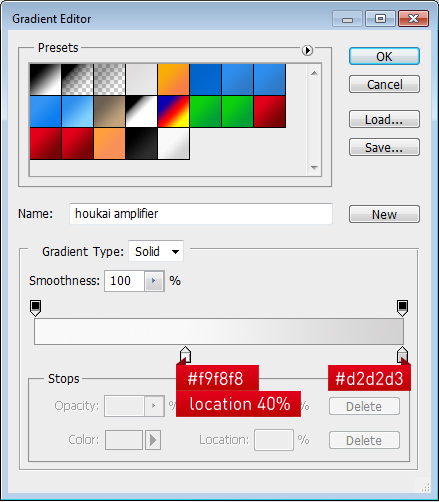
You will get this simple and smooth background:

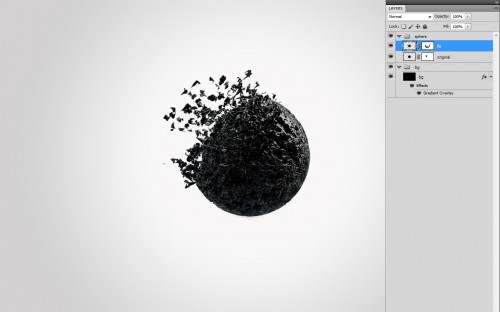
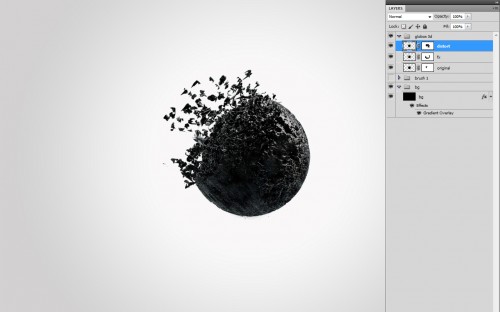
Import your 3D polyfx images you saved into Photoshop and center both:
Place the sphere without effects bellow and mask both layers to the get a nice effect:
Duplicate the original sphere layer (without explosions) and go to Filter - Distort - Displace and add the follow values:
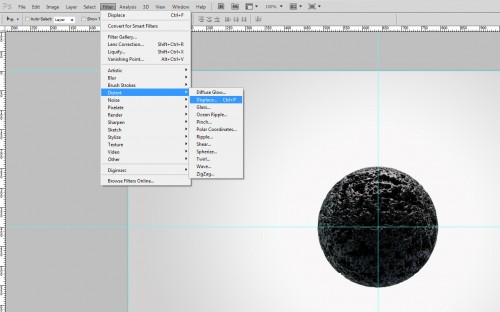

Photoshop ask you to open a file. Select the Displacement Map PSD file. This is how your layer should look like:
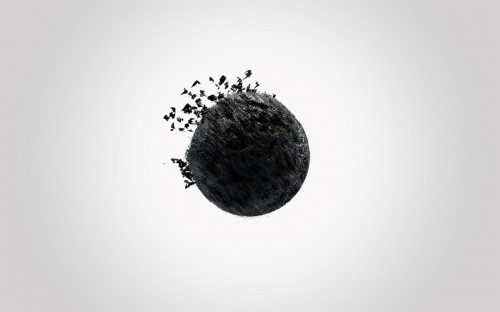
Place it above the two images and mask it to give a good look:
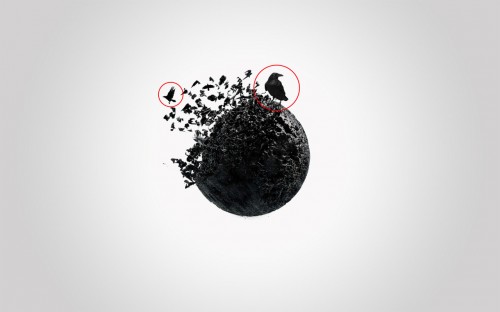
Go to google or your favorite stock image website and search for some crow's. Once you select the one you like, import it into Photoshop and remove the background with pen tool:

Add the image into your composition and rotate/scale it:
Find more images in different perspectives and add them to the comp:
Search a feather image and paste into photoshop:
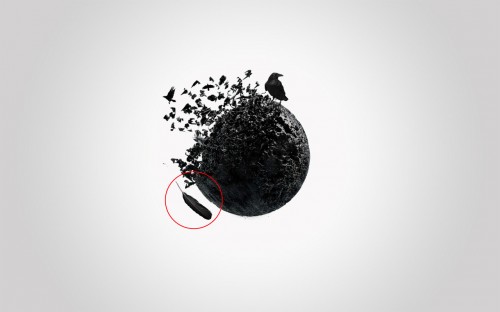
Add the following Adjustments to the feather:
Add more feather's to the comp:
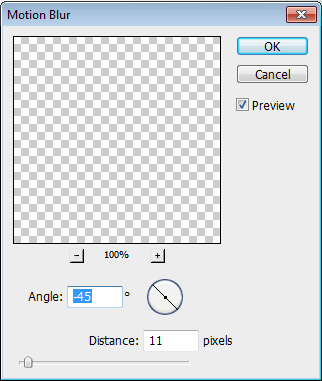
Select the first feather we added and go to Filter - Blur - Motion Blur and values to the match the image below:
Choose your favorite splatters brushes and add them behind the spheres to give a nice integration with the sphere 3d explosion:
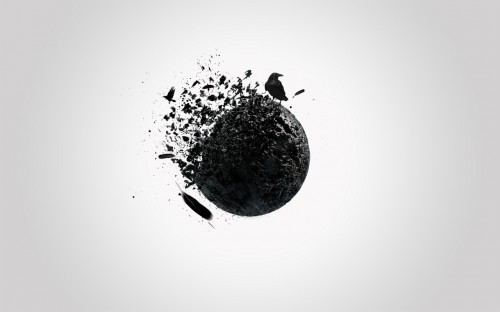
Duplicate the sphere without FX's. Scale them along the main comp:
Grab your favourite paint brushes and and paint with a nice cyan color to give it contrast. Use some tiny splatters too:
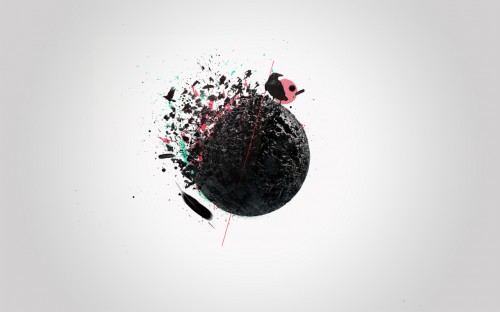
To create more contrast use some red abstract brushes too:

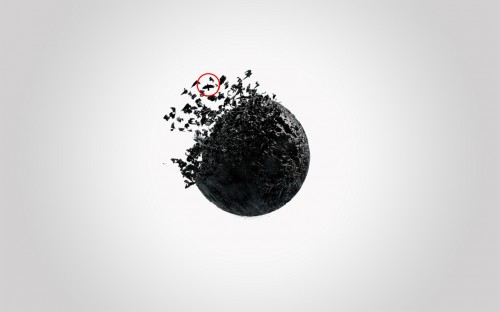
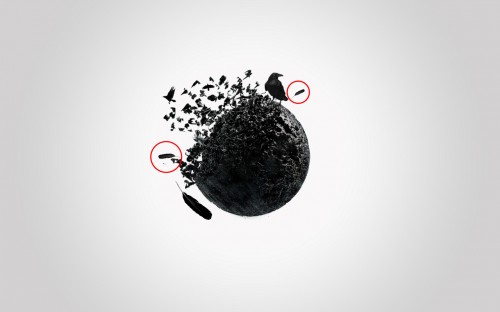
Add some extra elements like a line (mask it so it fades on the sphere) and a red circle:

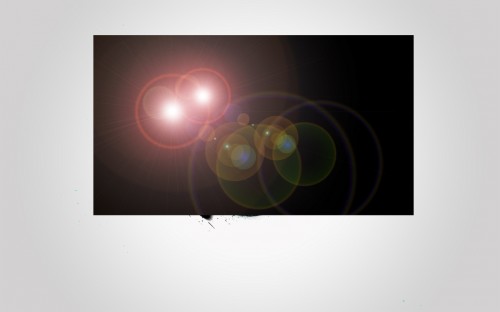
We're almost done. Now go to Filter - Render - Lens Flare and use a 50-300mm Zoom with 100% Brightness. Make it Screen with 25%:
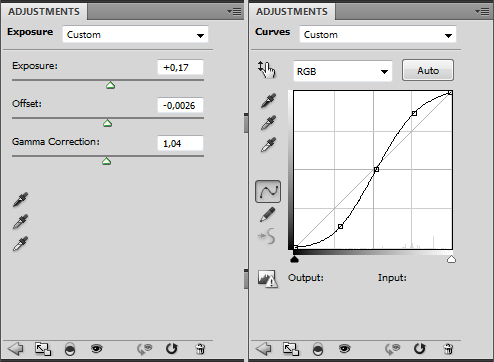
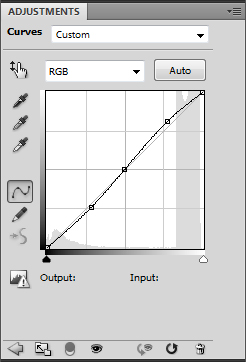
Add Curves and tweak and bump up a little bit of the blacks:
Add some text in Museo Slab. Creat a simple black and white contrast. Play around with sizes to give a good feel: